This guide will take you step-by-step on adding a Group to a Board.
...
setting up a group in Via®. Assigning users and boards to lists can allow an administrator to assign a number of users to specific boards. This can speed up setting up new boards or templates simply by adding them to a group of users instead of adding the rights one board at a time.
Step-by-Step:
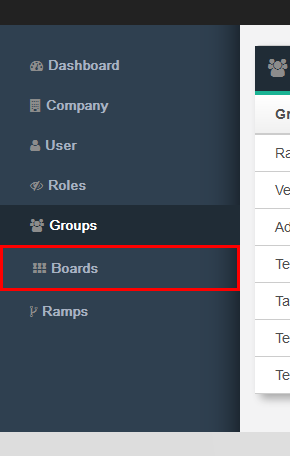
- Open the Admin Dashboard and click on BoardsGroups.

- Click on the Board Group that you would like this Group to be a part of.
Click on the Group in the "Excluded Groups" list and it will be added to the "Groups on Board" list
Click Save
Info 
- There are three items that can be included or excluded in groups: Users, Boards and Templates

The users/boards and templates not accessible in the group will appear on the left side of the screen while the items assigned to the group will appear on the right side of the screen. In the above screen shot James King has been assigned to the group while Aaron Miller is not part of the group. Likewise, Active customers is assigned to the group while Billing Customers is not. This means that using the rights in this board James can see the Active customers board. There are currently no templates assigned to this board. To move the items between the excluded and included lists simple click on an item in either list and it will move to the corresponding list on the other side. If you have a specific role that you want to assign to the group you can set that at the bottom of the screen. Click Save on the top right side of the screen. NOTE that you must press save or you changes will not take effect
